
So you just unboxed a brand-new RC car or truck, and the body is a clear, floppy piece of plastic with a sheet of stickers. Or maybe you just want something that doesn’t look like every other truck at the track. Either way, you’re about to paint your first Lexan body, and that’s awesome. I painted my first shell back in 2010 and I’ve been hooked ever since. This guide walks you through the whole thing the way I do it in my own paint booth, minus the years of mistakes.
This is the big-picture overview. If you want every step with a pile of photos, head over to my full step-by-step Tutorials after you read this.
Why you paint the inside of Lexan
This is the part that trips up almost everybody the first time: you paint the inside of the body, not the outside. Lexan (polycarbonate) is tough and flexible, which is exactly why it survives cartwheels, walls and the occasional flying lap into the pipe. The paint, on the other hand, isn’t nearly that tough. If it were on the outside, it would be scratched to pieces after one run.
Paint the inside, and the clear plastic becomes a built-in clear coat. You look at your paint through the Lexan, so it stays glossy and protected. That one fact also explains the weird part of the process, the “backwards” color order, which we’ll get to in a minute.
Washing and prep
New bodies come covered in mold release and fingerprints, and paint hates both. So before anything else, give the inside of the shell a good wash with warm water and plain dish soap. Use your hands or a soft sponge, get into every corner, then rinse really well and let it air dry (or pat it with a lint-free towel).
A lot of people ask if they need to scuff the inside with a Scotch-Brite pad. With the paints I use, scuffing isn’t needed. A clean shell is what matters. Once it’s washed, handle it with gloves (cheap nitrile ones are fine) so you don’t put skin oils right back on it. Leave the outer overspray film on the outside of the body the whole time; that’s what keeps the outside clean.
Masking windows and cutting your lines
Most bodies come with pre-cut window masks. Stick those on the inside first, and burnish the edges down with a fingernail so paint can’t creep under them.
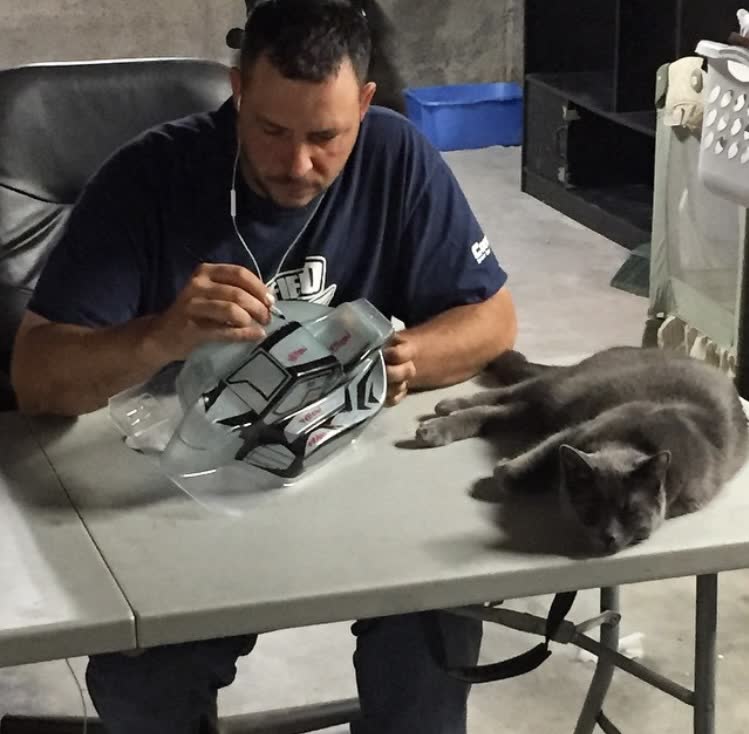
For the actual design, I use liquid mask. You brush it onto the inside of the body in a few thin coats, let it dry, and it turns into a thin rubbery film. Then you draw your design on the outside with a fine marker (on the overspray film) so you can see it through the plastic, and cut your lines on the inside with a sharp hobby knife. Light pressure is key here. You only need to cut through the mask, not carve into the Lexan. Change your blade often; a dull blade tears the mask instead of slicing it.
Don’t peel everything at once. You only pull the pieces for the color you’re about to spray. Everything else stays covered until its turn.
Back-to-front: the color order
Here’s where painting Lexan flips everything you know about painting. Because you’re looking at the paint through the plastic, the first color you spray is the one that ends up on top when you look at the finished body. So you work back-to-front:
- Details and darks first. Outlines, pinstripes, shadows, little accents, anything that should sit “in front” of everything else.
- Then your main colors, dark to light. As a rule of thumb, darker colors go down before lighter ones, because a light color won’t cover a dark one.
- Backing coat last. Once all your colors are down and every bit of mask is pulled, back the whole thing with white, silver or black. This makes the colors pop and keeps them from looking see-through. White makes bright colors and fluorescents really glow, silver gives everything a metallic shine, and black deepens darker schemes.
Take a minute to plan this out before you spray anything. I usually write the color order on a piece of tape stuck to the bench so I don’t get ahead of myself.
Thin coats and drying
My go-to airbrush is the Iwata Eclipse CS (HP-CS). It’s a gravity-feed brush that handles everything from fine lines to covering a whole shell, and it’s what I use for pretty much every body I paint. For paint I use Faskolor. It’s water-based, made specifically for Lexan, and it sprays great through an airbrush.
The number one beginner mistake is trying to get full coverage in one pass. Don’t. Spray thin, light coats and build the color up. Heavy coats run, pool in the corners, and can lift the edges of your mask. Hold the body up to a light between coats; when you can’t see light through the color anymore, you’re covered.
Between coats, I dry the paint with a hair dryer. Keep it moving, keep it on a warm setting and not right up against the plastic, because too much heat in one spot can warp the Lexan. Make sure each color is fully dry before you pull the next piece of mask, or you’ll pull paint up with it.
The big reveal: removing the overspray film
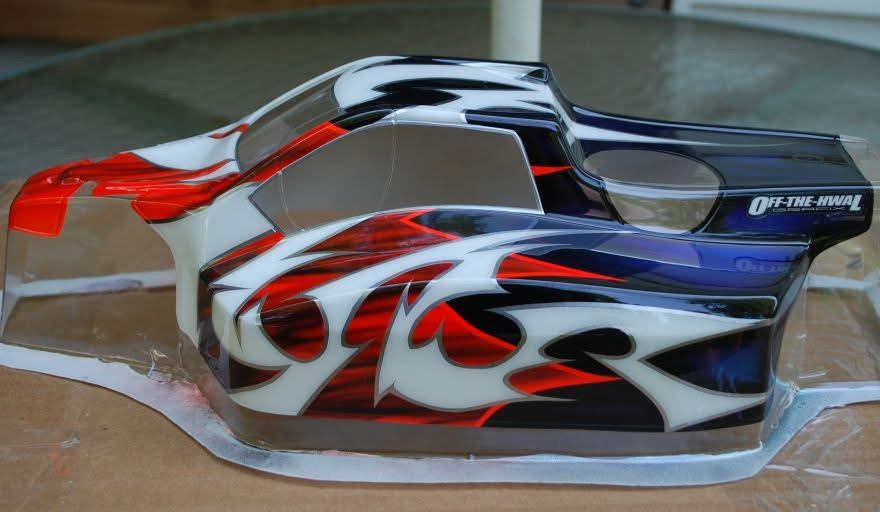
Once the backing coat is dry and all the mask is off the inside, it’s time for my favorite part. Peel the overspray film off the outside of the body. That thin film has been protecting the outside from stray paint and marker lines this whole time, and pulling it off is when the shell goes from “kind of cloudy” to full gloss. Some people save this for after trimming so the outside doesn’t get scratched while cutting. Either way works; just don’t forget it’s there.
Trimming and mounting
Now cut the body out along the trim lines. Curved Lexan scissors make this so much easier than regular scissors, and for tight spots you can score the line with a hobby knife and gently flex the plastic until it snaps clean. Take your time around the wheel wells; you can always trim more, but you can’t put it back.
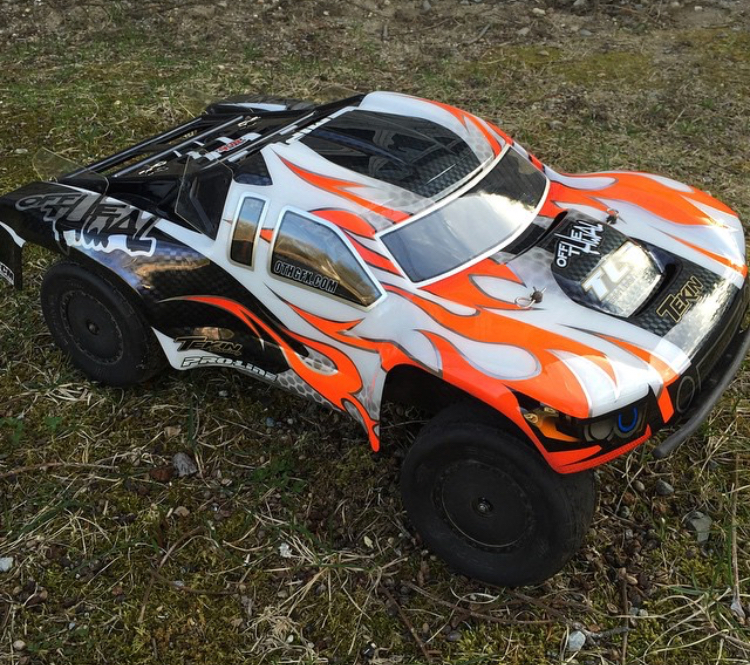
For the mounting holes, mark where the body posts line up (a dab of paint or lipstick on the top of each post, then set the body down on it, works great), and make the holes with a body reamer. Start small and open them up slowly so the holes are clean and the paint doesn’t crack around them. Add your decals, clip it on, and go show it off.
A few last tips
- Pick a simple design for your first shell. Two or three colors and a backing coat will look way better than an ambitious scheme that gets rushed.
- Practice cutting mask on a scrap piece of Lexan (the leftover trim from an old body is perfect).
- Good ventilation and a respirator, even with water-based paint. Your lungs will thank you.
- Have fun with it. Every shell I paint teaches me something new, and yours will too.
That’s the whole process from clear shell to track-ready. For the full walkthroughs with a ton of photos, check out the Tutorials page. Questions? Shoot me an email at othgfx@yahoo.com.
Rather have one done for you? Check the Order page to see if I’m taking custom paint jobs right now, or browse the Gallery for ideas.